Monday, November 25, 2013

Book Page Tree Topper And Wreaths

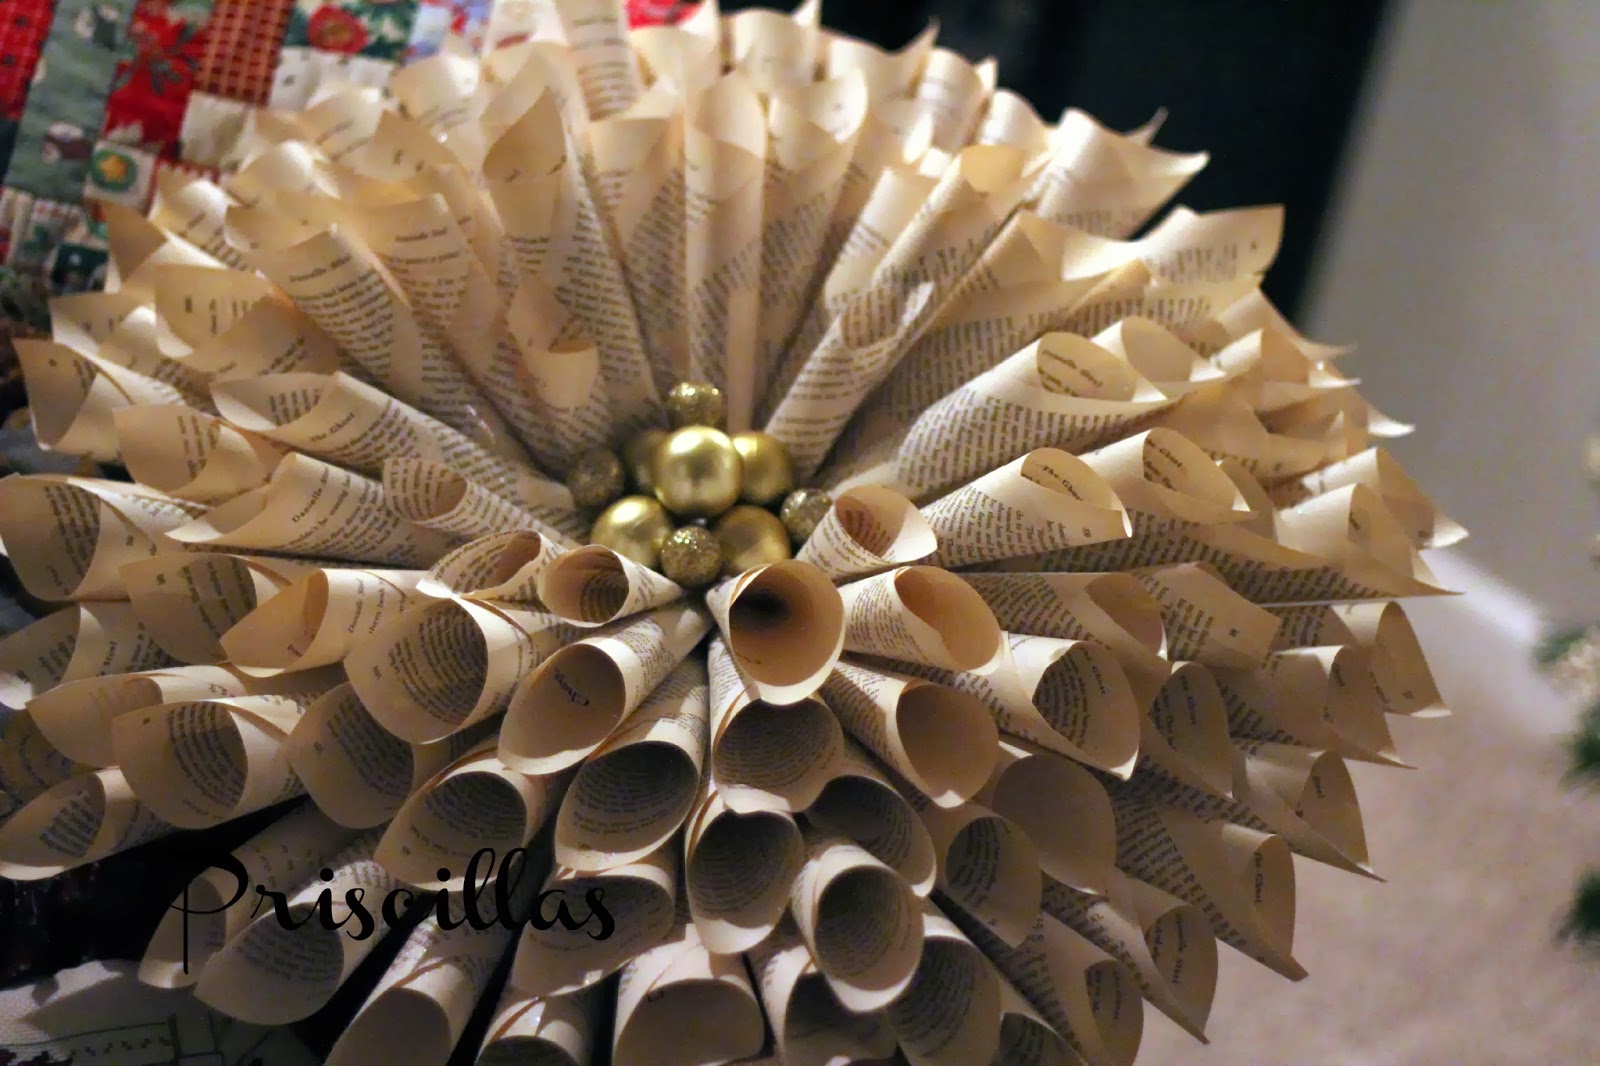
Last year I had watched this Youtube video on how to make a book page wreath..It was too close to Christmas , so I knew I wanted to make one this year .  Yesterday my daughter and I made 4 wreaths and the tree topper ! Love the tree topper !

 There is a special way to roll the book pages so watch the video , it really helps! To make the tree topper I used a luncheon size paper plate turned upside down . Did 2 rows around the plate , added some ornaments for the center . We cut a piece of the roll from a roll of decomesh , glued it to the front of the plate and slipped the top of the tree into it .. Easy !
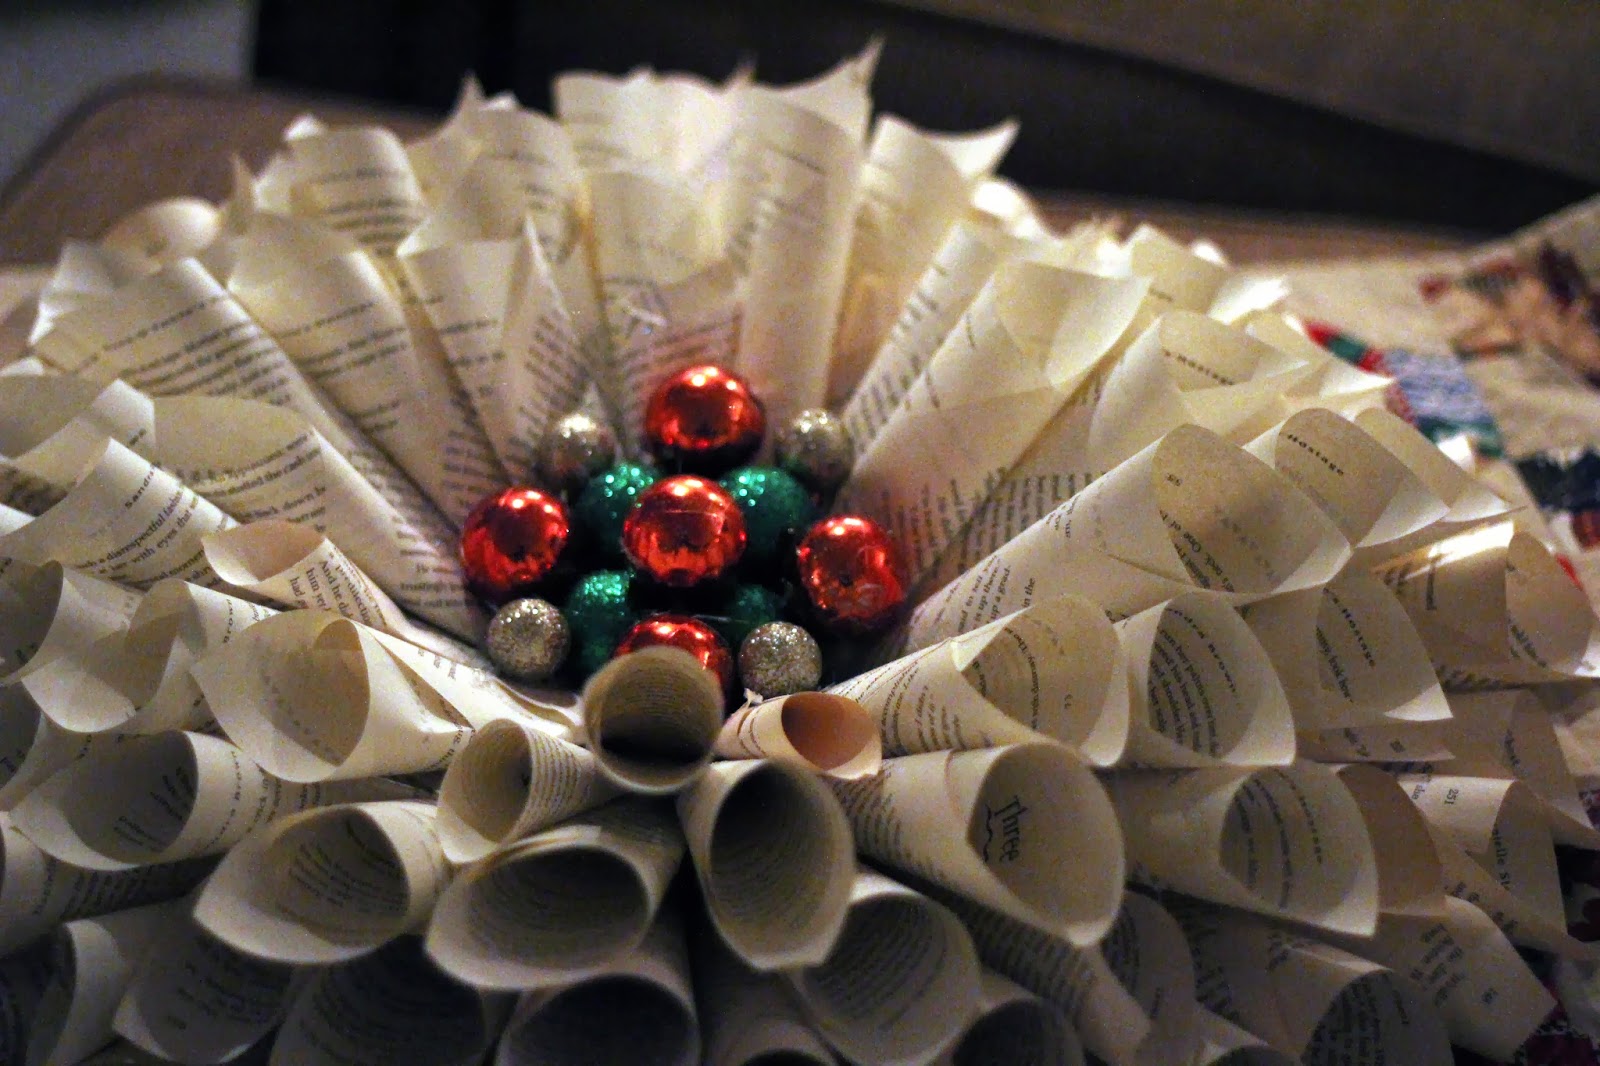
 For the wreaths we used cardboard boxes for the backing , drew an 8 inch circle , then a 4 inch circle and hot glued the paper tubes to the circles. Once its finished we went back and stuck tubes in wherever there were spaces. For the insides of the wreaths we folded the tubes and stapled about an inch up to make them shorter  .. we wanted the centers to be really full
 It takes about 120 tubes for each wreath, that you have to tape and staple..then glue.

 This tree is in the living room , its one of 3 in there right now.. hopefully adding the real tree today or tomorrow !


 This wreath with the aqua is my daughters..
 This wreath with the gold is for my sons girlfriend
 This wreath with the green and red is for my daughter in law..
 The balls for the center of the wreaths came from Dollar Tree and Targets dollar section.or the tree topper I used some old ornaments to make it look more vintage.
and this wreath is mine .. I hung it on the door in the family room that leads to the garage..from a piece of burlap. Aren't they all just beautiful ?
Thanks so much for stopping by !I would love for you to follow me on Instagram, Facebook and Pinterest ..all the links are in the sidebar !
 
Linking to :

Sunday, November 24, 2013

A No Sew Ruffled Tree Skirt For Chelsea

I made this no sew ,Easy , ruffled tree skirt for my daughter's tree...Last week I helped my daughter decorate for Christmas at her new house. One of her trees was white so we used book page ornaments , snowflakes , and ball ornaments in aqua , light blue and silver. We also used burlap woven through the tree for a garland. I used white fabric with aqua snowflakes to make the tree skirt..

 
It looks perfect under her tree!


To make the skirt , I used one of my purchased tree skirts for a guide to cut felt for the base. I then ripped the white fabric into about 4 inch strips. Start at the bottom edge and using hot glue make a line of hot glue about 2 inches up on the felt and start putting down the strips pushing it together in the glue as you go to make the ruffles. Keep going and overlapping the rows until you get to the top .


 If you make your rows closer together it looks more ruffly , also you can use different colors for each row or make the strips smaller or bigger.. this is the 5th ruffled skirt I have made.. I just love them under the trees! you can see them here and here and here !
 
 
Thanks so much for stopping by !I would love for you to follow me on Instagram, Facebook and Pinterest ..all the links are in the sidebar !
 
Linking to :


Friday, November 22, 2013

Owl Ornaments And The Owl Tree

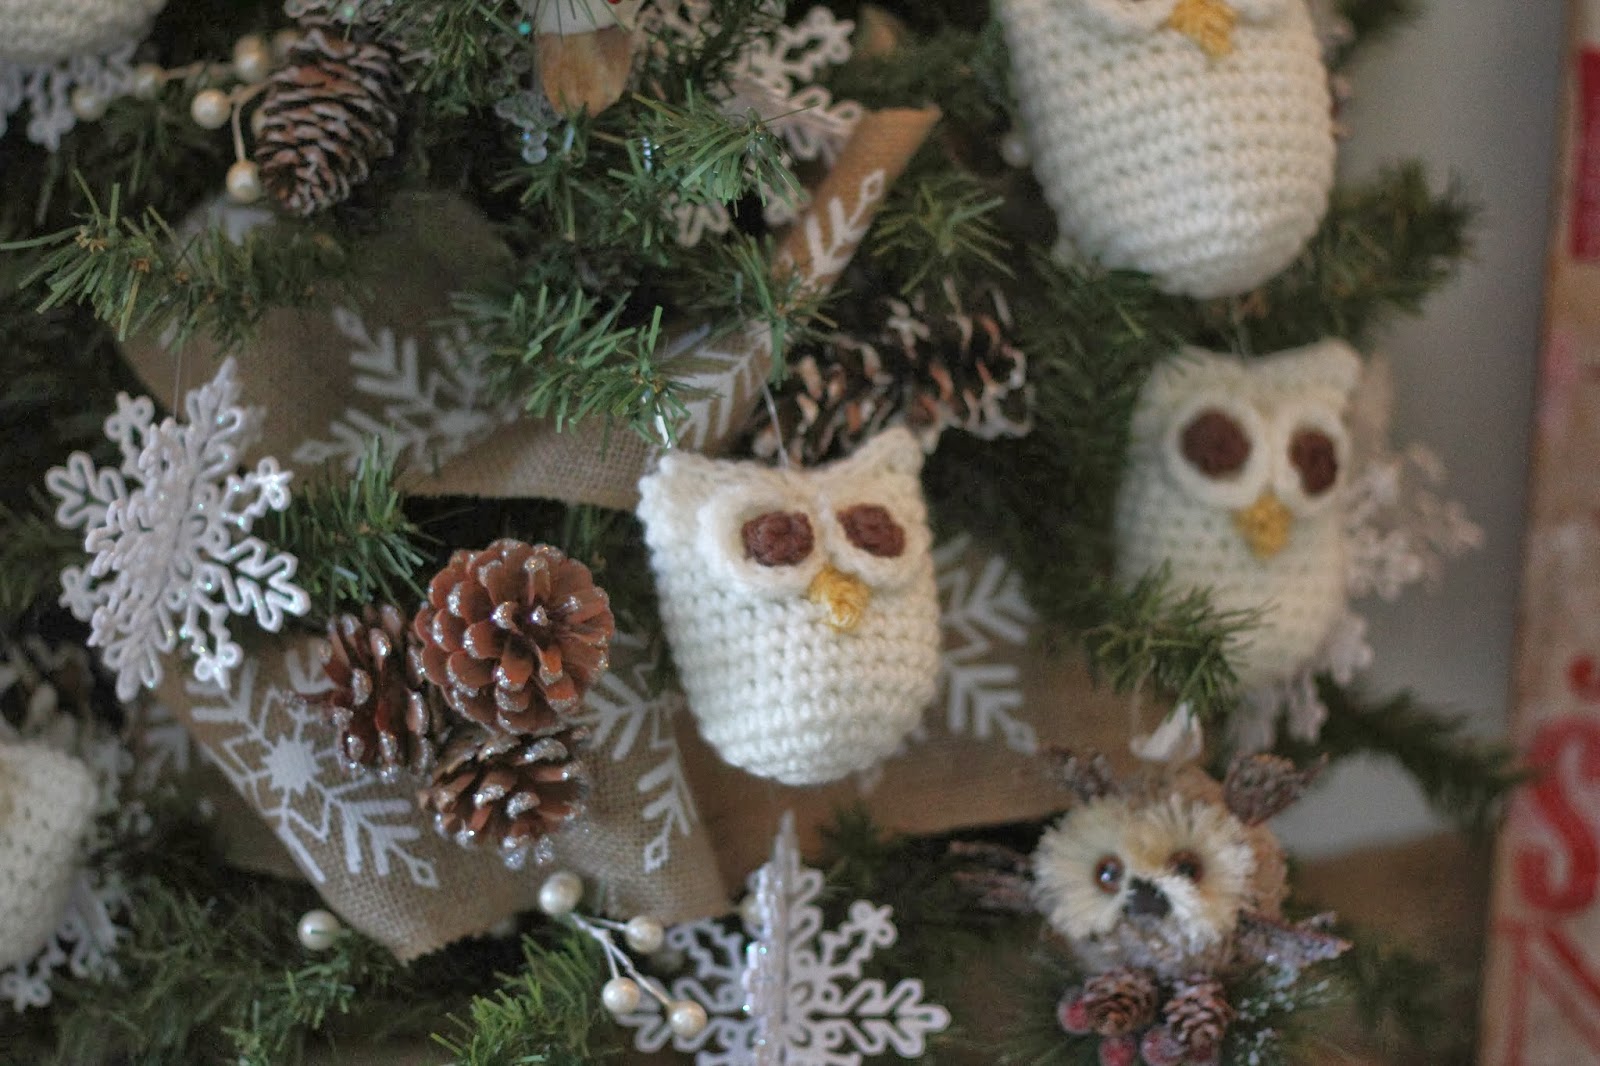
Owls are such a big thing now , I had to trim a tree with them ! This tree sits on the stairs going upstairs.. Usually it is trimmed with felt Santa's and snowmen. Its a 4 ft. tree , and there are no lights on this one since there's no outlet .
 I started with some snowflake burlap I got at Michaels. I wove that through the tree , made a bow for the tree topper and added pinecones and lots of snowflake ornaments. At an estate sale a month or so ago I got all those white berry picks , and used those too..

 I hopefully will be able to find some more cute owls to add to the tree in the weeks before and after Christmas !
 I made all the crocheted owls from this pattern ... I changed the pattern since I thought they were too big for my tree and also I wanted them in different sizes.
 I used button for a couple of their eyes and also just crocheted their eyes.
 For my owls, use Size G hook and  worsted weight yarn... I chained 3 slip stitch for a circle.. Round 1 ..12 sc in circle. Round 2 ..sc in first stitch 2 sc in next repeat around (18) stitches. Round 3 .. sc in next 2 , 2 sc in next around. ( 24 stitches. Keep crocheting  your rows until you get the desired size owl.. to close and make the ears ..hold the front and back together , do a half dc in first stitch ,sc in next 6 stitches slip stitch 2 rows down ..stuff your owl kind of loosely.. then sc to the last stitch where you do a half dc. Pull up on the ends a little so the points for their ears show. For the eyes ..chain 3 slip stitch to form ring. chain 3 , 11 dc in ring .slip stitch to top of chain 3 . Slip stitch in first 6 stitches then sc in last 6 .When you sew the eyes on the owl the sc part should be on top like an eyelid. Either sew or glue buttons in , or chain 2 ( I used brown ) then 5 sc in first chain slip stitch and leave a tail for sewing. For the nose I used pale yellow, chain 3 ..sc in last 2 chains , turn 1 sc in last stitch , turn slip stitch in last stitch. leave a tail for sewing.

Thanks so much for stopping by !I would love for you to follow me on Instagram, Facebook and Pinterest ..all the links are in the sidebar !
 
Linking to :

DIYShowOff

Monday, November 18, 2013

Book Page Ornaments and The Dining Room Tree

 
Book page ornaments are popping up all over blogland , so I had to make some ! I tried last night to make some I saw on Pinterest that looked like snowflakes, but it took me an hour and it was only half finished..With one !! This morning I made these and they are very easy !

 I also had to add that chalkboard look  element to them as well .. I am using these on my dining room tree.
 To make these I cut strips of book pages .. 3 pages per loop.. each strip  1/2 inch wide and I used 9 loops to make each one. Cut about 1/2 inch off all the way around the pages to get rid of the white margins..
 I started out trying to hot glue each loop but then a lightbulb went off and I got out the stapler ! Staple each of your loops together..

 Then hot glue them all together..Hold them until they stick...It doesn't really matter what your center looks like because you will be adding something to the top.
 I added Dollar Tree snowflake ornaments and also cut black paper with a paper punch and wrote on it with a white sharpie paint pen.


I decorated this tree in our dining room with platinum colored ornaments, burlap woven through the tree, pinecones, burlap flowers, these book page ornaments, Dollar Tree snowflakes and ornaments, some white flower picks from an estate sale and glittery branches from Michaels that I cut apart..there's also some beaded garlands..


 It is sitting in a bucket that we got at a church rummage sale..and oh boy did I fight with this tree to get it to stand in the bucket .. I have a piece of burlap over the top of the bucket so you can't see the big cans of crushed tomatoes , cans of enchilada sauce and a weight from the boys weight set ! :) But it is standing up straight and tall !!!
 
Thanks for visiting ..I love this tree and I hope you do too !
Thinking about all those affected by the tornadoes yesterday !I would love for you to follow me on Instagram, Facebook and Pinterest ..all the links are in the sidebar !
 
Linking to :


DIYShowOff

Sunday, November 17, 2013

Christmas Cross Stitch


Good Sunday morning ! This year I tried to stitch all the remaining Prairie Schooler Santas .. I didn't finish all of them but I did get 13 of them done ! I finished all of them on a flat board , I used ribbons, buttons, ric rac, pom pom trim to finish them .
The worst part was the ironing to get all the wrinkles out ! Hopefully next year I will have them all finished ! On Instagram a bunch of us stitched Christmas on Sundays all year long and tagged our stitchery with #santasundayxs .. It was fun to see Christmas stitching all year long ! I still have 3 other Christmas ornamnets to finish that aren't Santas..
All the Prairie Schoolers go on my Santa tree..

I also finished another stocking this year .. These take so long to stitch since it is total stitches with no background showing through !
They are amazing when finished ! I have another stocking started , hope it gets finished for next year !

Thanks so much for stopping by ! I will be back to start showing you my trees this week ! Have a wonderful day ! I would love for you to follow me on Instagram, Facebook and Pinterest ..all the links are in the sidebar !
 
Linking to :

DIYShowOff