Showing posts with label joann fabrics. Show all posts

Saturday, November 22, 2014

It's Finished !! The 2014 Christmas Village

I am so excited to show you our Christmas Village for this year ! Last year it wrapped around only the tree on the left ..

\
 I found 13 Christmas houses at the GoodWill store this year so we made it bigger and now it wraps around the 2 trees on this wall in the Living room..The trees were put up on plastic storage boxes and I tie a weight from my boys weight lifting bench to the back of the trees to make sure they will be standing all season !


 This is my husbands contribution to the Christmas decorating ..He builds the structure and gets the houses put out and lit.. I just add the snow ..trees..and people. Hopefully this year I can find a few new houses to add to the village :)
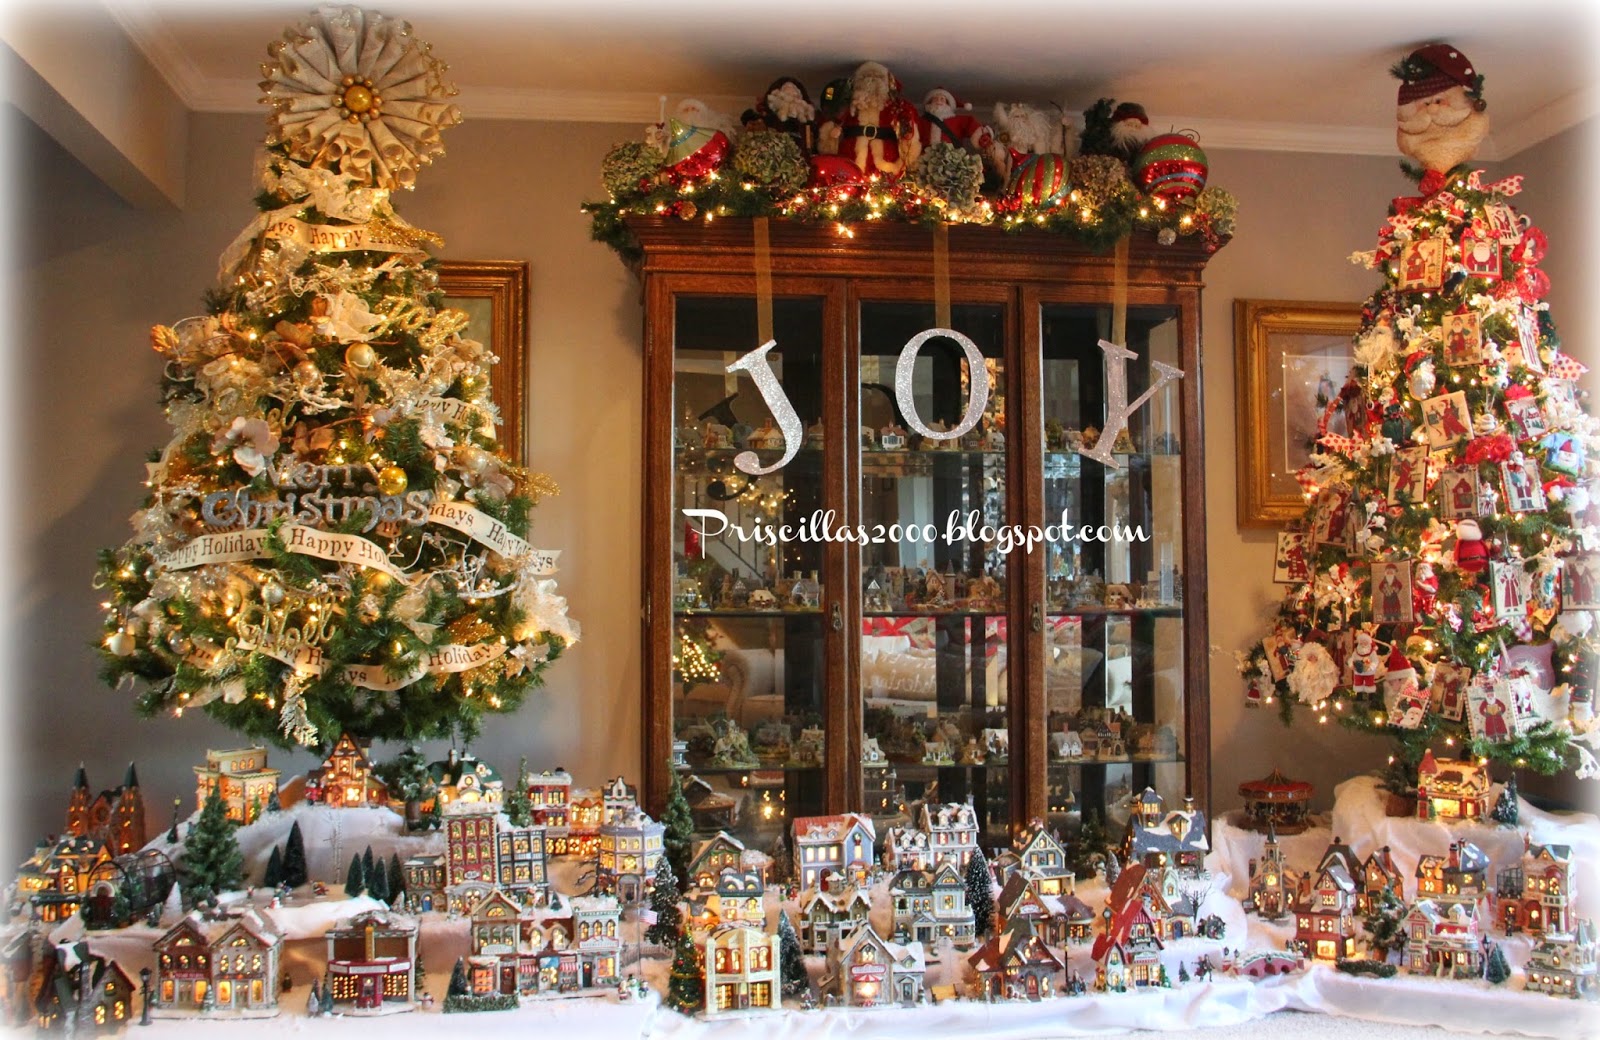
 I made the book page tree topper last year ..and my Santa tree holds all y cross stitched Prairie Schooler Santa ornaments..

 Ronnie the Jack Russell photo bomber...


 Skaters are skating.. ..
 Santa and his reindeer are making their rounds..


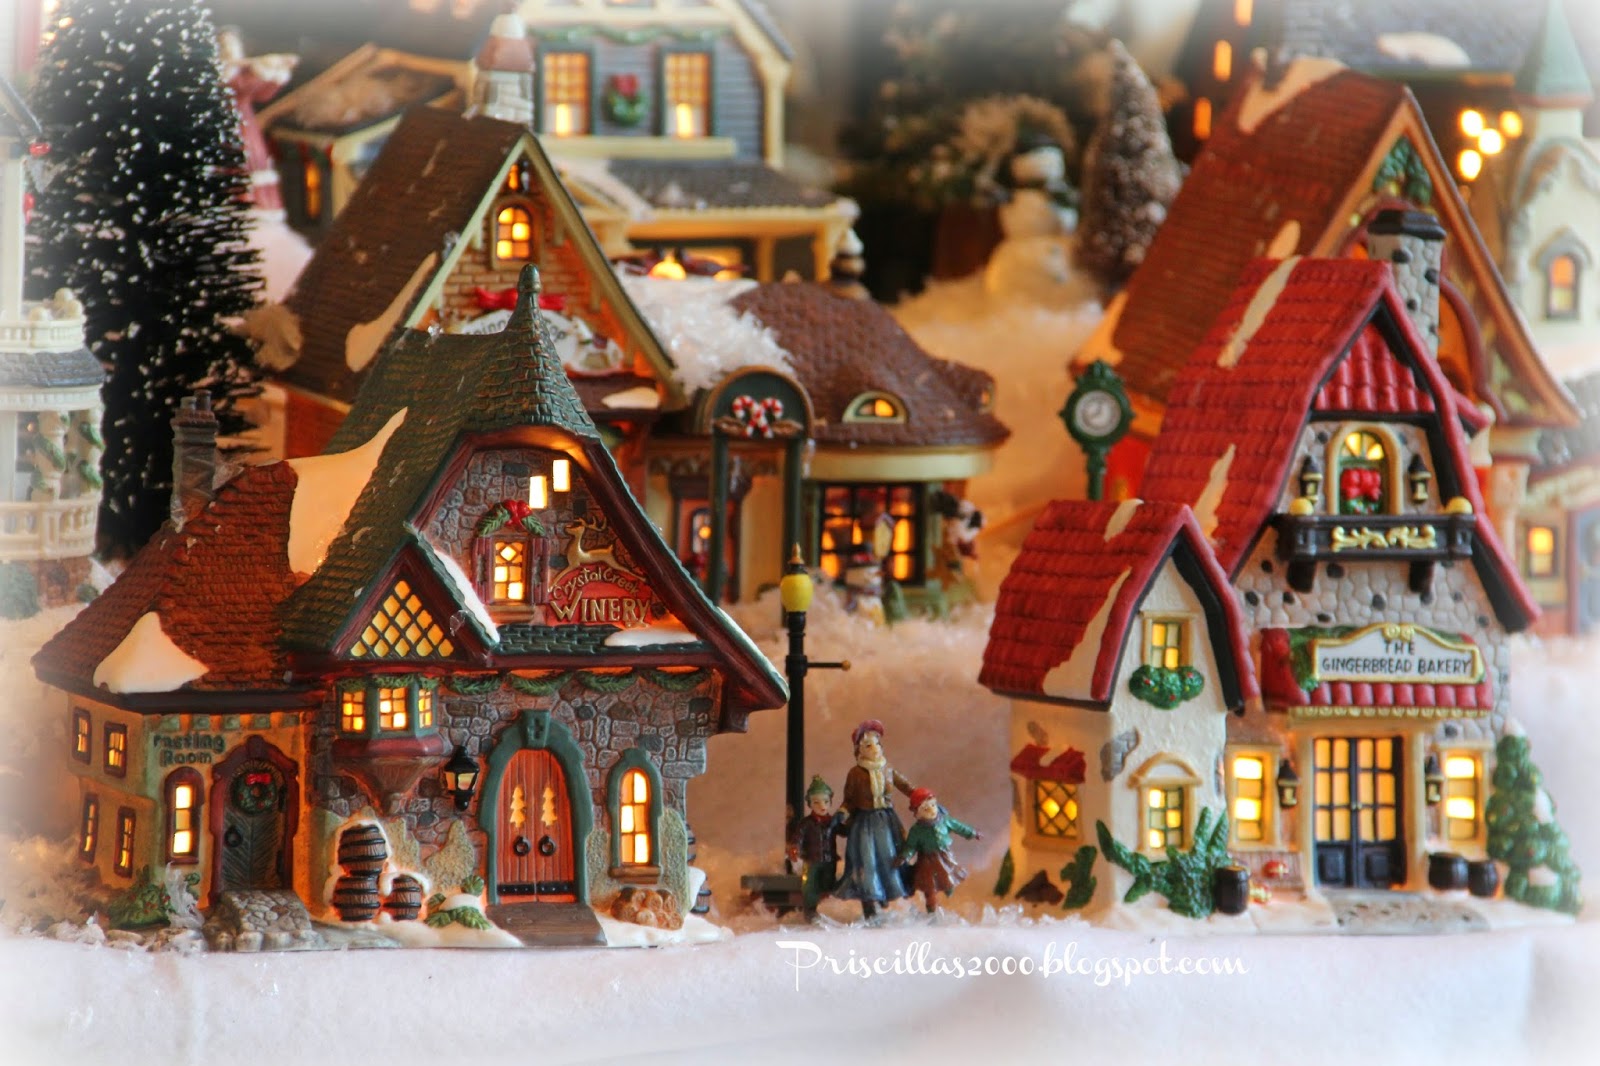
 Most of the houses I found this summer were from Kohls Department store.. I have a mix from Kohls and Joann Fabrics..and a couple Dept. 56 pieces.


If you would like to see what I am up to everyday join me on Instagram and my Facebook page ! I do post on both almost everyday ..Links to my Facebook page , Instagram and Pinterest are in the sidebar .. Hope to see you there ! :)

Linking to these fabulous parties !

http://nominimalisthere.blogspot.com/
http://sewmanyways.blogspot.com/
http://www.astrollthrulife.net/
http://farmhouseporch.blogspot.com/
http://www.atthepicketfence.com/
http://thestylesisters.blogspot.com/
http://homecomingmn.blogspot.com/
http://www.dwellings-theheartofyourhome.com/
http://stringtownhome.net/
http://www.frommyfrontporchtoyours.com/
http://eighteen25.blogspot.com/
http://www.allthingsheartandhome.com/
http://www.stonegableblog.com/
http://www.theidearoom.net/
http://www.domestically-speaking.com/
http://www.alderberryhill.com/
http://sweethaute.blogspot.com/
http://frenchcountrycottage.blogspot.com/
http://lavendergardencottage.blogspot.com/ 
http://piecedpastimes.blogspot.com/
http://www.lifeonlakeshoredrive.com/
http://www.onemoretimeevents.com/
http://alittleclaireification.com/
http://www.vmg206.com/
http://thecharmofhome.blogspot.com/
http://linda-coastalcharm.blogspot.com/
http://www.733blog.com/

Monday, January 27, 2014

DIY Winter Decomesh Wreath

 It's Monday !
Hope you had a great weekend ! No school around here today or tomorrow because of the below zero temperatures ! When it looks like this outside you need a wreath on the door that is very wintery ! I took down the Christmas wreath and didn't put anything back up ..It was just too bare.
I got this decomesh at Hobby Lobby after Christmas for 90 percent off ! So it was about $1.50 ! I should have bought more ! I used a evergreen wreath that I already had.
 To make the wreath you just bunch up how big you want the loops and use the evergreen wired branches twisted together to hold it down and secure it. Like using a twist tie..I made these loops about 8 inches long.
 I did 2 rows of the decomesh , one on the inside one on the outside..I used this light aqua ribbon for the bow...
 I got these glitter snowflakes at Joann fabrics after Christmas .. I think they were about 25 cents each ( 3 snowflakes on each pick)
 I also used some glittery cord from Hobby Lobby ..its an aqua color..
 I added light blue tulle bows to make it really full
This took me less than 30 minutes and look how fabulous it looks on the door !


 These wreaths are so easy ! Hope you will try one !


Yesterday I had my granny square blanket spread out to take the pictures for my blog.. I left the room for 2 seconds and this is what I came back to..She had to be the first one to try it out..:)
This is what I see looking out the front door..Lots of snow..and so cold !

I would love for you to follow me on Instagram, Facebook and Pinterest ..all the links are in the sidebar !
 Have a great day !Thanks so much for stopping by ! I love your visits and nice comments !


Linking to :

http://nominimalisthere.blogspot.com/
http://sewmanyways.blogspot.com/
http://www.astrollthrulife.net/
http://farmhouseporch.blogspot.com/
http://www.atthepicketfence.com/
http://thestylesisters.blogspot.com/
http://homecomingmn.blogspot.com/
http://www.dwellings-theheartofyourhome.com/
http://stringtownhome.net/
http://www.frommyfrontporchtoyours.com/
http://eighteen25.blogspot.com/
http://www.allthingsheartandhome.com/
http://www.stonegableblog.com/
http://www.theidearoom.net/
http://www.domestically-speaking.com/
http://www.alderberryhill.com/
http://sweethaute.blogspot.com/
http://frenchcountrycottage.blogspot.com/
http://lavendergardencottage.blogspot.com/ 
http://piecedpastimes.blogspot.com/
http://thecharmofhome.blogspot.com/
http://alittleclaireification.com/
http://www.lifeonlakeshoredrive.com/
http://www.onemoretimeevents.com/

Thursday, January 16, 2014

The Cutest Crocheted Rose Valentines Pillows

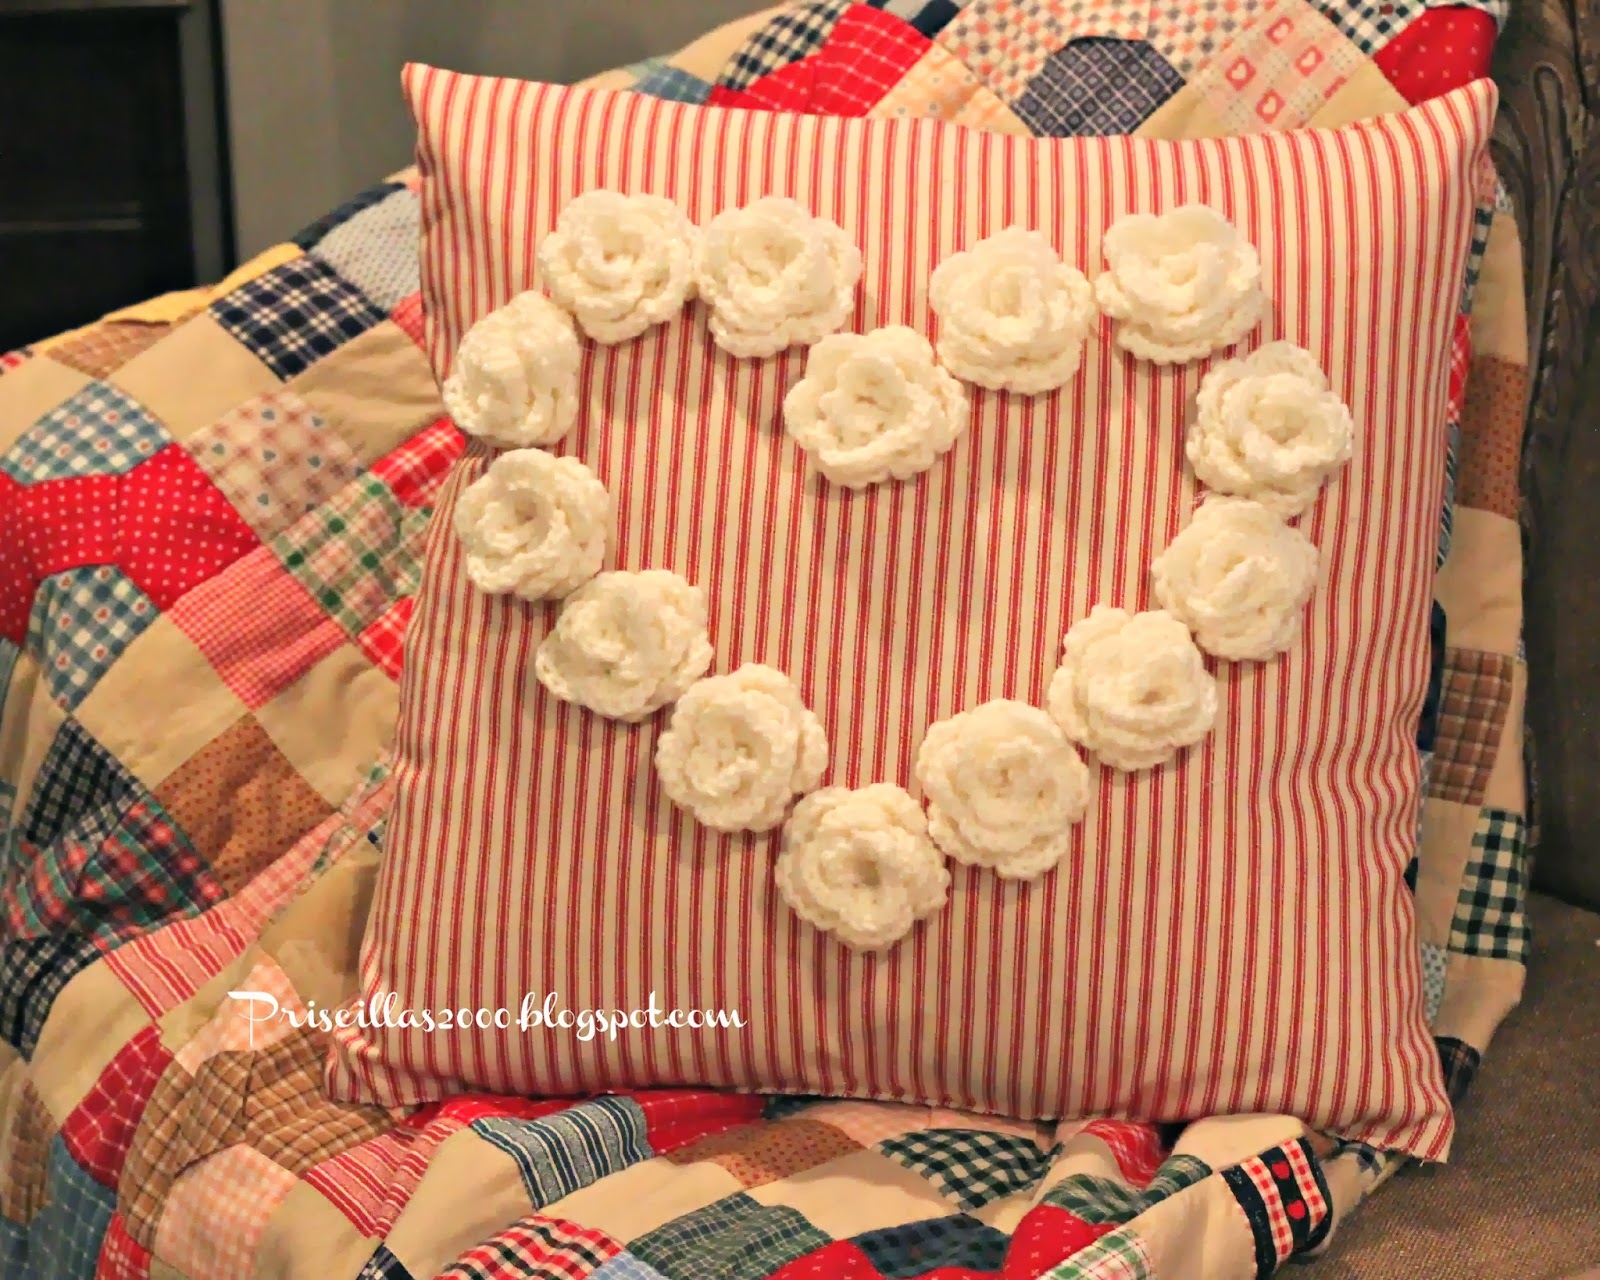
 Good Morning ! Are these not the cutest ? I l-o-v-e them ! I am not usually a Valentines day decorator , but my imagination wouldn't let me not make these ! I wanted to make pillows with this red ticking stripe at Christmas time but I just didn't get around to it..I do have some ideas for next year :) So I love these crocheted roses and whats more Valentines day than roses ?
 I bought the red ticking stripe fabric and the duck fabric ,pillow forms and yarn  at Joann Fabrics. The fabrics I used  are in the utility fabrics if you are going to make these. I used 1/2 yard for the red stripe and a yard for the duck which made 2 -18 inch pillows. I just made 18 inch squares and sewed a small 1/4 inch seam on 3 sides .. then hand sewed the bottom .. Super easy ! You could even glue it all if you don't sew :)
 Each 18 inch pillow took 14 roses ..These are the same roses I used last year for the sweater pillows .. I used a G size hook and worsted weight red heart yarn.
 I used hot glue to attach the roses , you could sew them also .. I just layed them out and glued away :)
 For the red stripe and one of the cream ones I glued them on after the pillow was stuffed and the bottom sewed up.. The other cream one I did without stuffing it first and I didn't like the shape of the heart as much ..I even tried to peel the flowers off , but they weren't coming off !
 I think the cream colored ones are coming to my bedroom after Valentines day ..


Thanks so much for stopping by ! There is still time to enter the giveaway for the $100.00 gift card from Dollar Tree .. Entries are open until January 19 ! I would love for you to follow me on Instagram, Facebook and Pinterest ..all the links are in the sidebar !
 I love your visits and nice comments !
Linking to :

http://nominimalisthere.blogspot.com/
http://sewmanyways.blogspot.com/
http://www.astrollthrulife.net/
http://farmhouseporch.blogspot.com/
http://www.atthepicketfence.com/
http://thestylesisters.blogspot.com/
http://homecomingmn.blogspot.com/
http://www.dwellings-theheartofyourhome.com/
http://stringtownhome.net/
http://www.frommyfrontporchtoyours.com/
http://eighteen25.blogspot.com/
http://www.allthingsheartandhome.com/
http://www.stonegableblog.com/
http://www.theidearoom.net/
http://www.domestically-speaking.com/
http://www.alderberryhill.com/
http://sweethaute.blogspot.com/
http://frenchcountrycottage.blogspot.com/
http://lavendergardencottage.blogspot.com/ 
http://piecedpastimes.blogspot.com/
http://alittleclaireification.com/
http://www.lifeonlakeshoredrive.com/
http://www.onemoretimeevents.com/

Thursday, December 12, 2013

Pottery Barn Inspired Christmas Pillows

I love all the Pottery Barn Christmas Pillows ! I have seen a lot  of bloggers making them , so my daughter and I decided to make our own version..We made the sweater pillows from Good Will sweaters. Sewed with the sewing machine then stuffed or put an old pillow inside.
Below are pottery barns pillows..
Jingle Lumbar Pillow, 14 x 24
I didn't want to use the same kind of font , so we just went with a simple font , freehanded..with a few swirlies.. We used burlap ..1 yard made 2 of the jingle pillows and 2 of the Joy button pillows. The burlap cost $2.99 at Joann Fabrics. Not bad for 4 Christmas pillows ! I got the red jingle bells at Dollar tree. We just stuffed the pillows with fiber fill. and sewed by hand the pillows to close the openings on the bottom.
For the big sweater pillow I cut it off under the armholes and sewed it with my sewing machine. I stuffed it and sewed the bottom by hand. I think its a handknit sweater and it makes a beautiful pillow. 

 For the little JOY pillow , I painted the word JOY with white craft paint, then we hot glued buttons to the top of the word.. The NOel pillow is Painted then glittered, on burlap.

 We also made the LOVE ,PEACE ,JOY pottery barn pillows...
 Peace Love Joy Lumbar Pillow CoverThe pottery Barn version ..

 We didn't use stencils ...I just freehanded them..We put parchment paper inside the burlap before we painted them so it wouldn't bleed through to the back.
 They aren't as big as the pottery barn version , we made them the same size as the Jingle pillows.. I think they look great for so little money ..

I would love for you to follow me on Instagram, Facebook and Pinterest ..all the links are in the sidebar !

Linking to :

Friday, December 6, 2013

Christmas Crafting..Book Page Trees

 Look at the cuteness of these book page trees ! We have made book page tree toppers and wreaths and book page ornaments , and now trees ! They are #fabulouslyfestive ! This is my last post of the year for Joann Fabrics and Crafts Stores. I have really enjoyed creating some fun things , and am thankful for the opportunities !
 
 Lets make some trees ! To make them you need an old book , cardboard cone shapes, we purchased these at Joann Fabrics, we got 2 different sizes,a hot glue gun and glue, also some glittery pipe cleaners to make a star , and ribbon for the bow at the top... You use the same technique to roll the pages, as we did on the bookpage tree topper..  only the pages are cut in half.  Just keep making rows, try and keep them straight .. I went up about 1- 1-1/2 inches for every row.
 We actually made them 2 ways, above we stapled the tubes before gluing.. it gives a more flat tree especially at the top. Below we did not staple just glue the tubes on. I prefer this way , I think the trees look better .
 We used glitter pipecleaners, and bent them in a star shape ..2 for each tree to make the star three dimensional ,and just glued them with hot glue. We set them on top of Ball Jars filled with small ornaments .. The tree in the back is the stapled version , the tree in the front is the not stapled cones. They look very different , you just have to decide which version you like better :)
 I am using mine on my dining room table ... I will be back to show you the whole dining room tomorrow ! There's a whole lot of book pages going on in there !
 
Use this coupon on the pipecleaners ! The cones are on sale.. This was a very inexpensive project and the finished project looks amazing ! I Used my burlap wreath for the centerpiece.. There is a tutorial there on how to make one. Visit Joann Fabrics http://bit.ly/1dZqWsw !
 
 
Thanks so much for your visits and nice comments !
I would love for you to follow me on Instagram, Facebook and Pinterest ..all the links are in the sidebar !
 
Linking to :

I was compensated by Joann Fabrics for this blog post but all opinions are my own.